Sunday, March 4, 2012

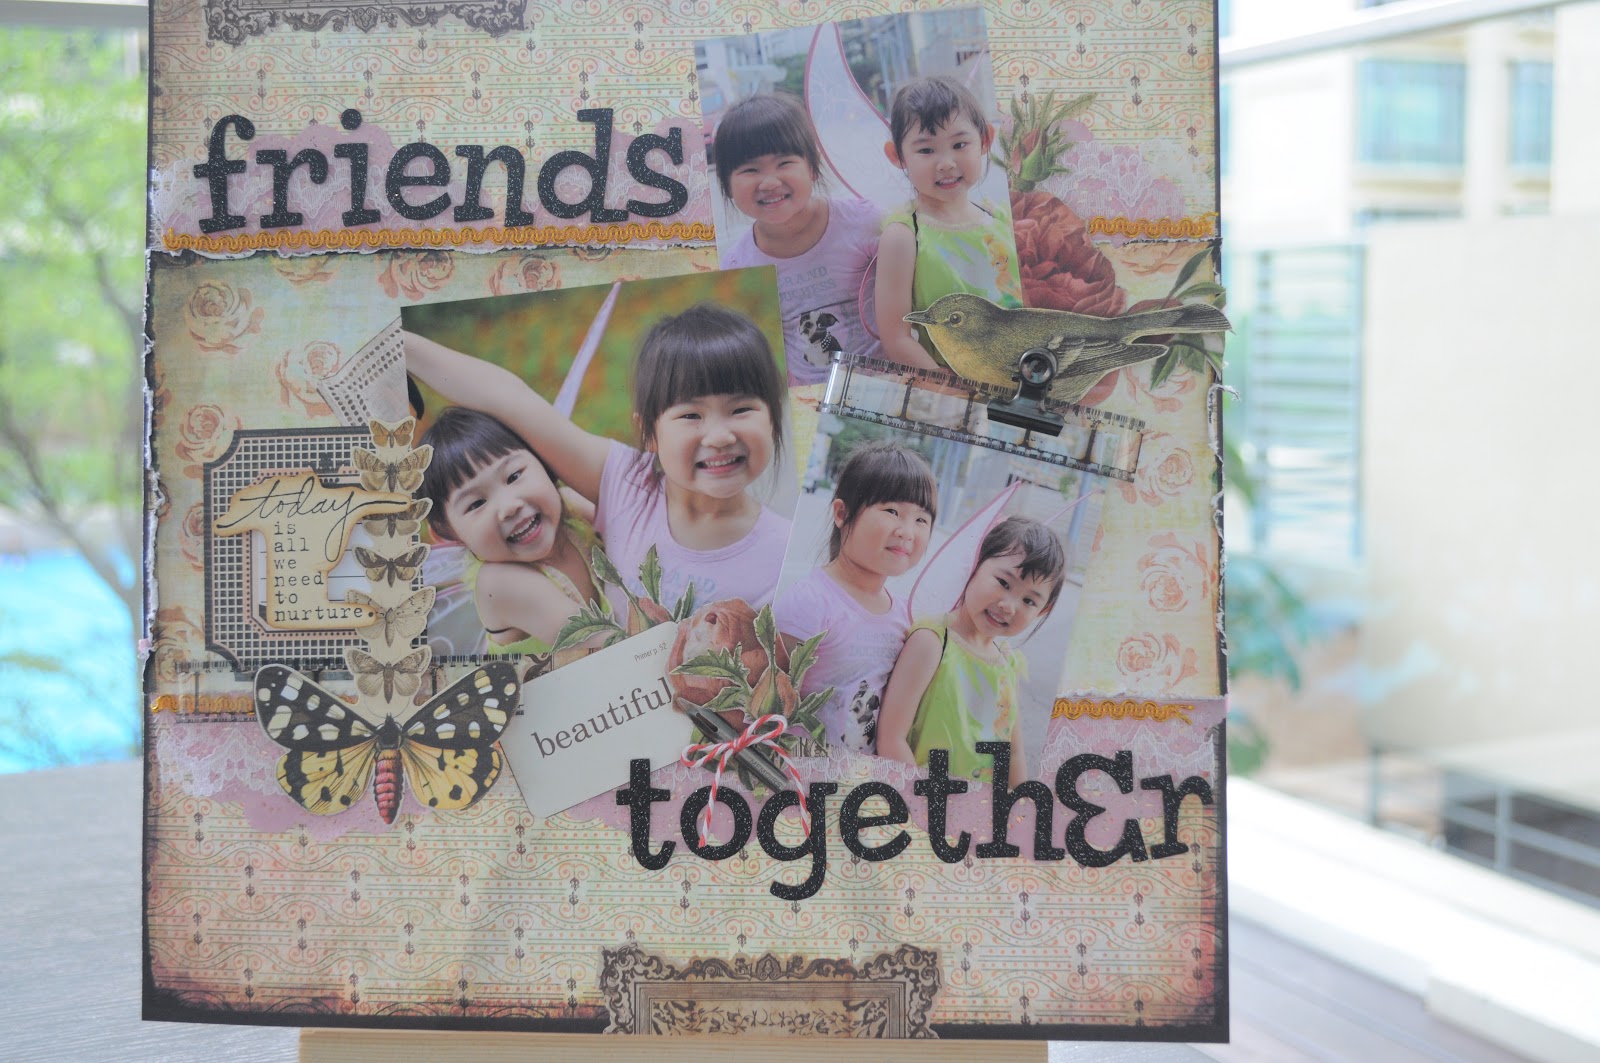
Basic Grey Scrapkit- Friends Together

As this is a scrapkit meant for beginners, it doesn't involve much technique. I thought the layout turned out pretty soft and sweet, which is exactly what I wanted, without much techniques.


Fussy cut is probably the only thing you need to construct this layout. The roses, birds and butterflies are all fussy cut from a very nice piece of Basic Grey Curio paper.


Added some tags from the echo paper and prima paper. Misted the doily paper so that it's not too raw.


I love how the Tim Holtz film strips create some much of the 3D effect. I've got tons of them lying at home.


And the little pen tip that comes with wordings. So classical.


Materials Used: Basic Grey pattern paper, Tim Holtz film strip, pen tip and peg, doily paper.

Sunday, February 26, 2012

Same Same But Different

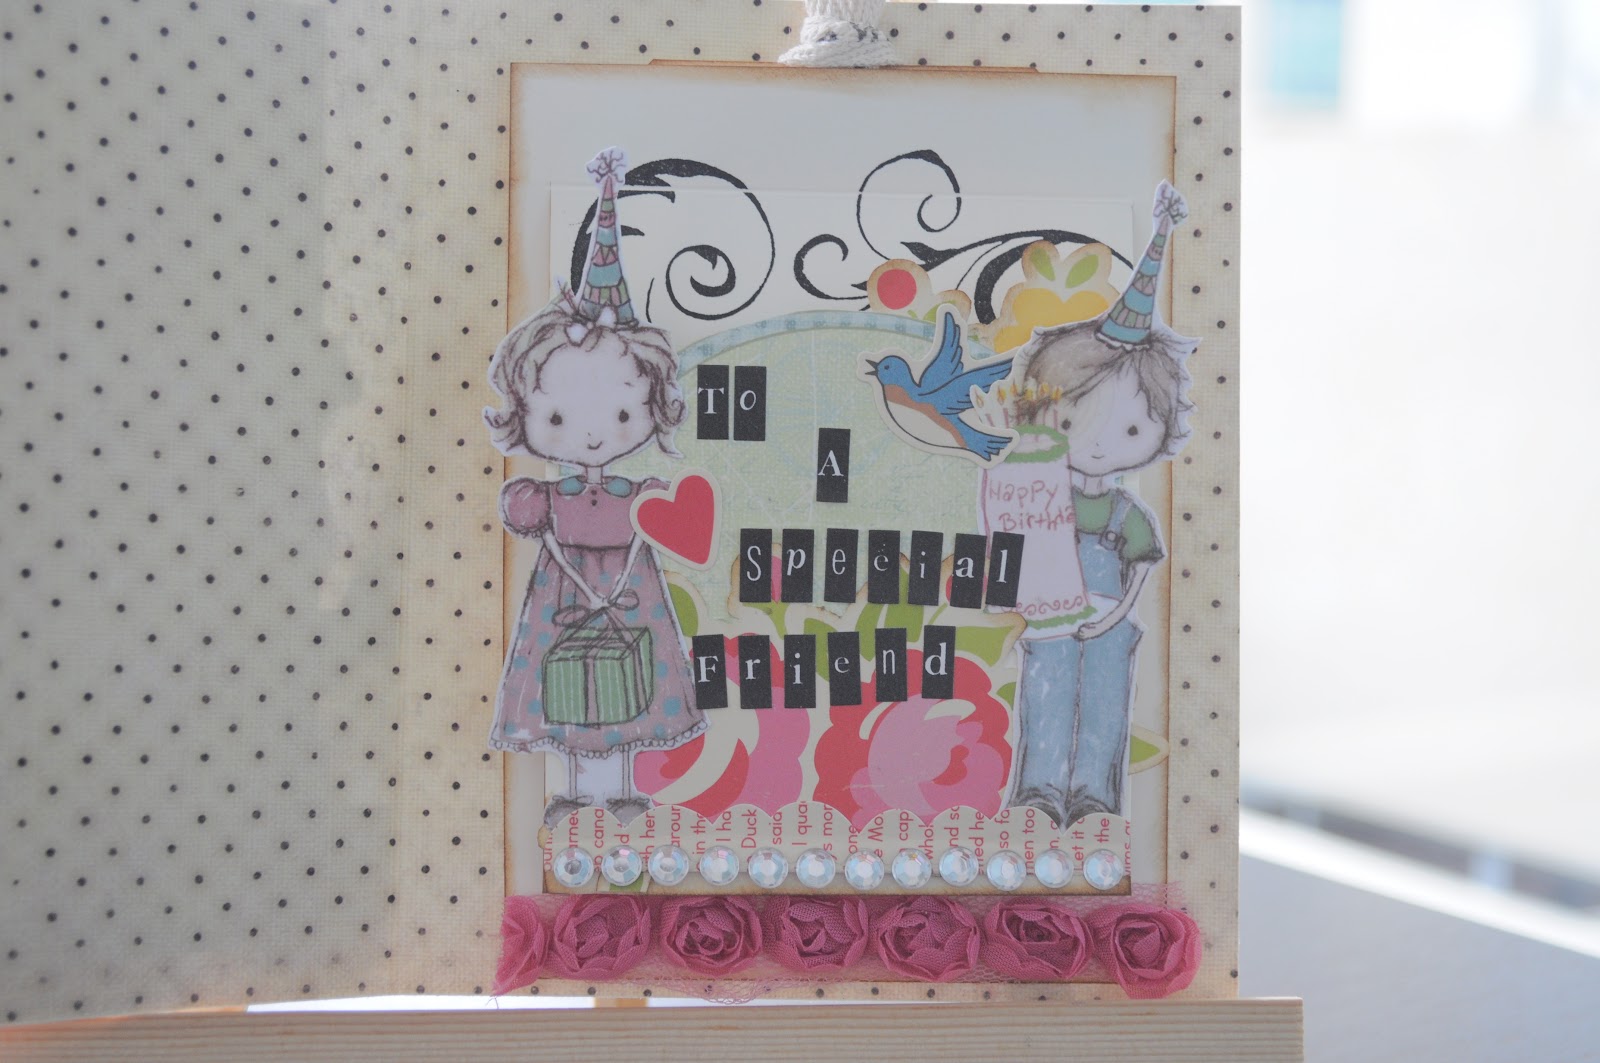
This weekend hasn't been quite creative. Down with really bad Sunday blues. Decided to scrap some birthday cards instead.


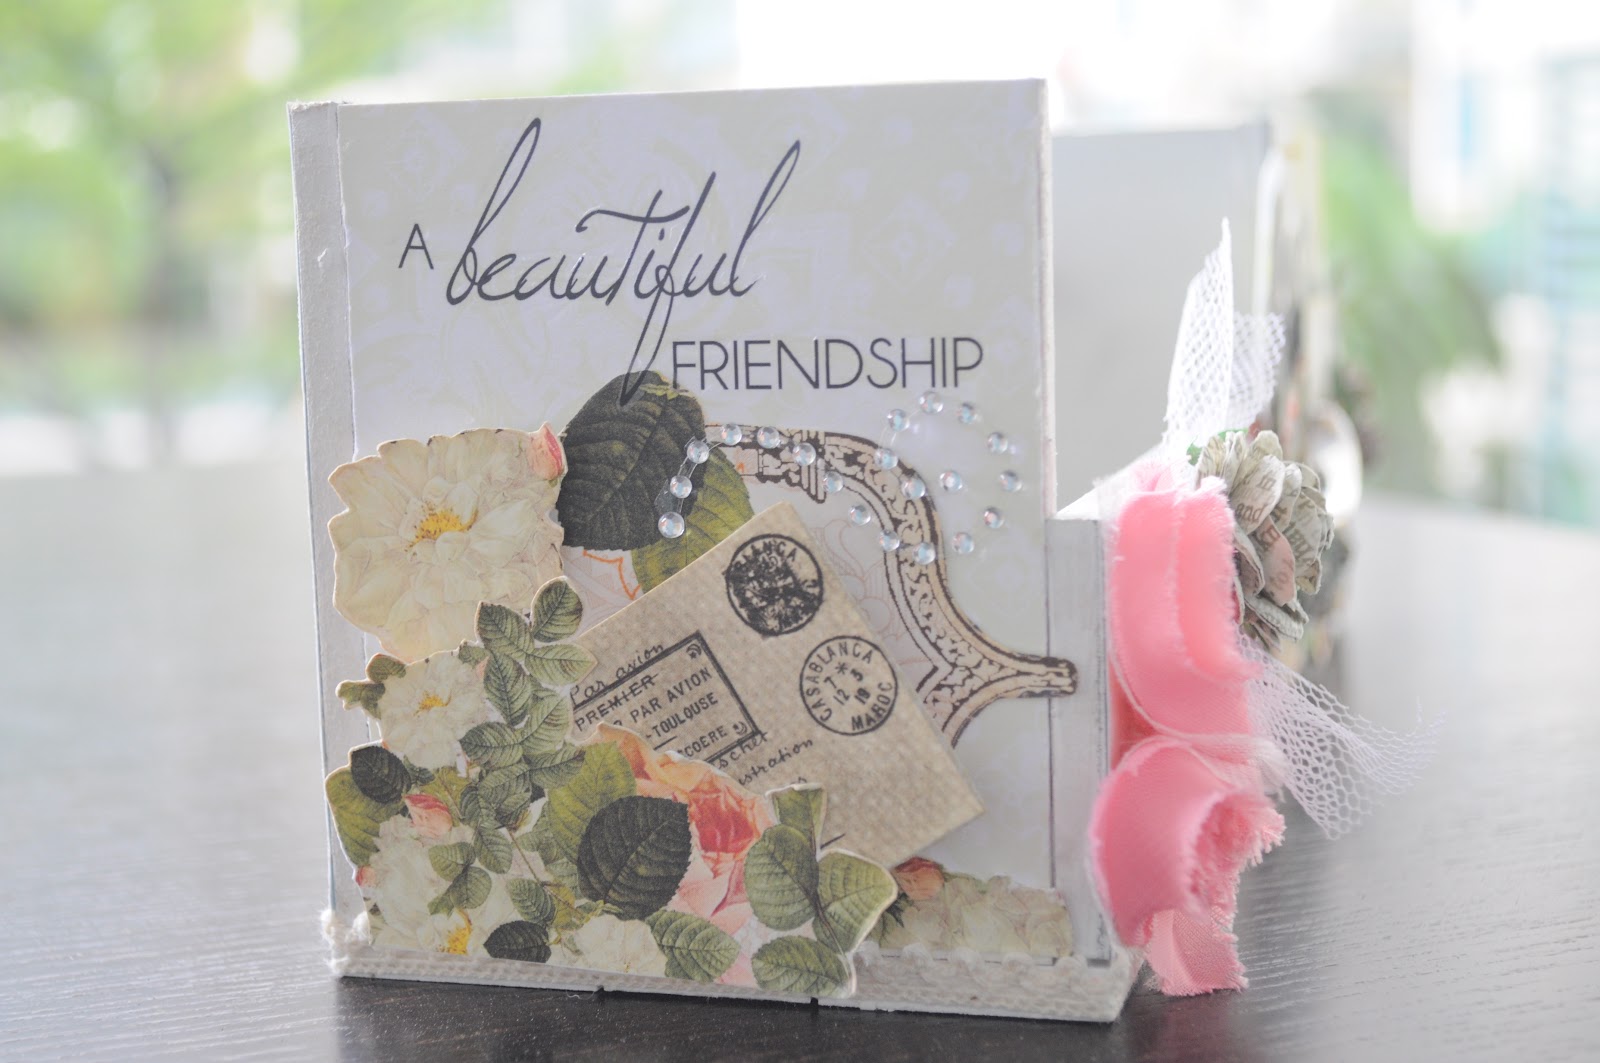
Manage to find some old prima papers from many seasons ago. Tried to mix them with the their new season. Turned out black and brown, my favourite. And I hope Joyce's favourite too. Not the typical bright colour series for birthday cards, but I guess it's vintage enough for her liking?


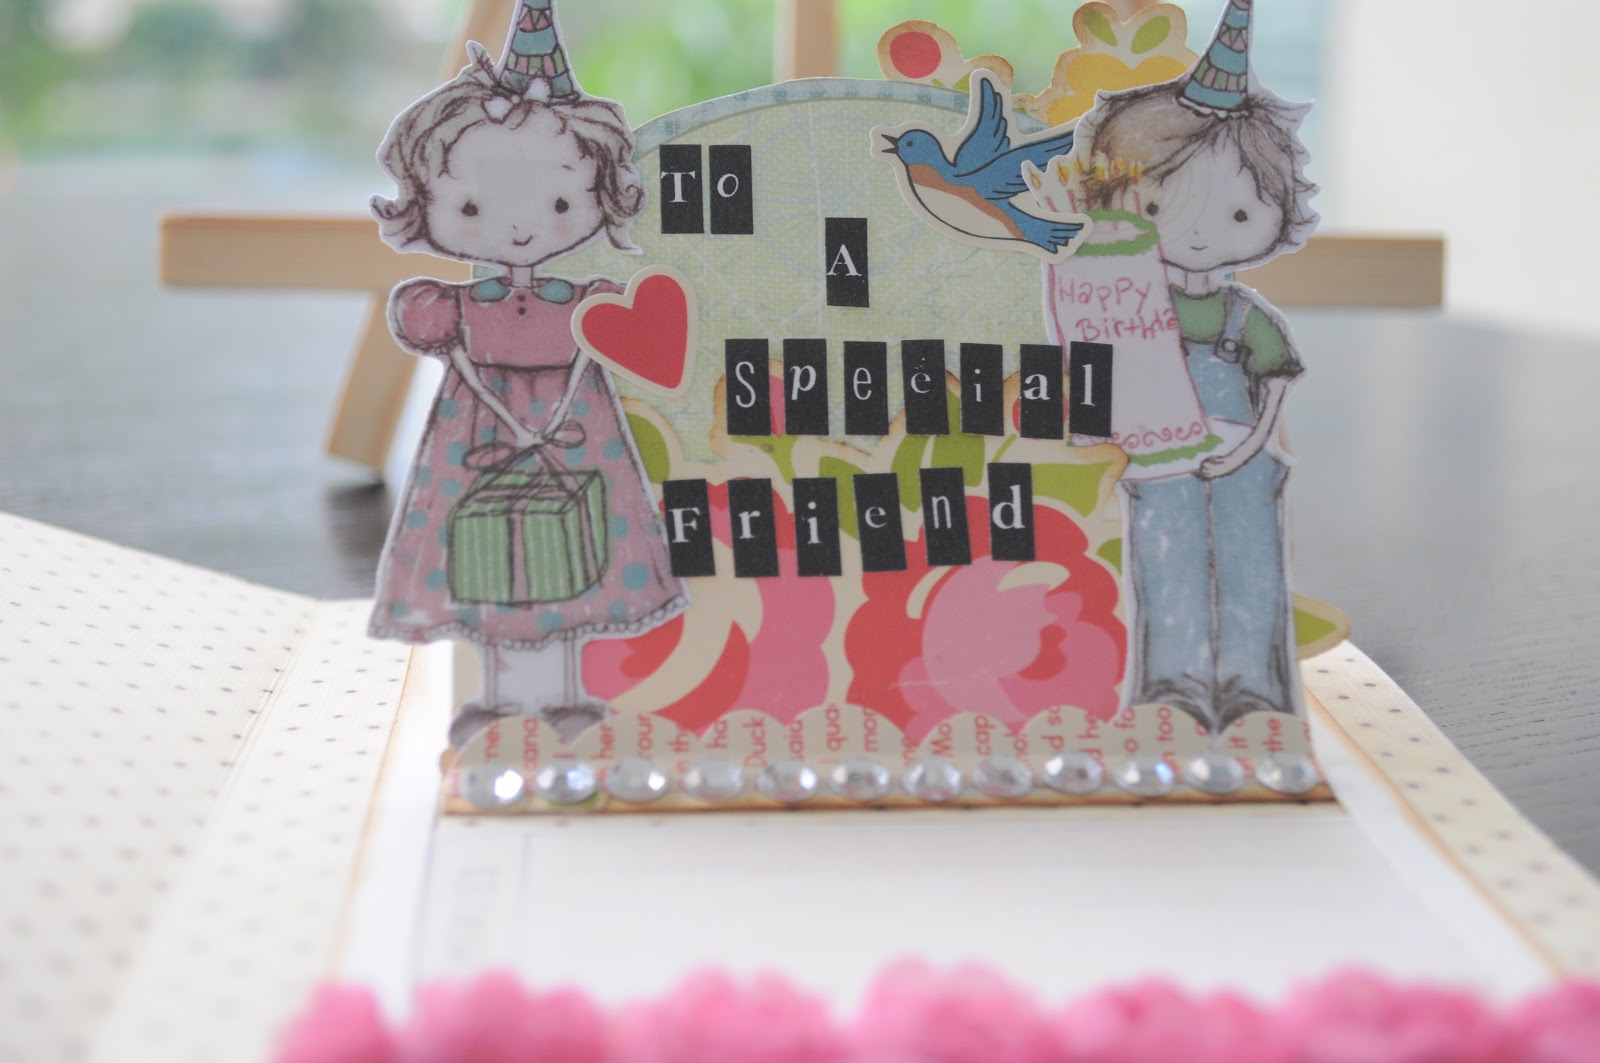
The tag inside the card, makes use of a technique I've learnt while teaching Jaz's CS-Box. Very cool technique where it gives you an exceptional pop up effect.


For Karen's card, though same background, decided to go for a more light hearted and less vintage look. Hahahaha, I tried. In the end, this is the best I could do, using October afternoon paper and stickers. I love the flowers alot and the girl holding the balloon was so apt for the occasion. Felt really bad that I can't join the party today.


It has a similar tag technique inside.


I really love the hidden tag I've placed inside the tag. Contains a secret message meant for the receiver only. :P


Materials Used: White cardstock, Prima pattern papers, trinkets, October afternoon pattern paper and stickers.

Thursday, February 23, 2012

(Dream) Together with you

I can't control myself and fell into the Prima trap. Went to Papermarket @ Clementi Mall earlier this week and was sweeping the Prima embellishments like crazy. They are really pretty. If you're the type of scrapper who loves layers, Prima embellishments should be on the top of your shopping list!


This layout isn't my typical style of pastel orange and cream. A bit too sweet and pale for my liking when I first saw the sun kiss papers. However, I wanted to challenge myself to something different. Hence I only picked 3 pattern papers from the sun kiss collection to work with.


Cut a frame and used the Prima mask to rub distress ink on, to create the birds and the wordings as part of the background. A little tip: distress the edges and corners of the photo mat to make it look less flat/more layered.


This little corner was layered using a MF frame and all the other items are from Prima. I really love the Prima vintage trinkets, which comes in 4's. They are really ideal for topping up with a ribbon or on top of flowers to give it the extra layer.


Most of the layers background are created using the journaling notecards. These are really lovely cards that have a pretty frame and little pixies that you can used them to decorate your layout. With a little glitter and glossy accent, they work much better than your chipboards.

The other thing about Prima is their packaging. Everything in Prima is so lovely, including their packaging. When I first saw their new packaging, I was a little disappointed as I used to love their transparent backing with the words. However, for the new packaging, they have tags! Lovely tags, that you can cut and look exactly like stickers. Brilliant!

Materials Used: Prima pattern papers: sun kiss and almanac collection, Prima tiles, flowers, vintage trinkets, mask, pebbles and journaling notecards,  liquid pearls (silver), glossy accent, graphic 45 pattern paper (old curiosity shoppe collection), Kaiser Craft rub-ons.

Sunday, February 19, 2012

Graphic 45 Little Darlings: Best Friend Forever

This month's artwork are going to be dedicated to all my best friends. Or perhaps, all the way till next month as well. Just to ensure I have sufficient time to work on all the projects for all my BFF's.
This album inspiration came from teaching Sharon's Lexicon class @ Laines last December. I've been wanting to do an album for quite sometime. However, I just couldn't find good papers and motivation. This time round, the G45 papers are sooo.... LOVELY!!! And it comes with the Little Darlings version which is ideal for friends who just had babies, especially one of my long time good friend!


This whole album is made from scratch. Binded also from scratch. (Money saving and good way to get rid of old papers)


For the cover, I've just got 2 chipboards and did bookbinding to all the signatures. The binding thread as you can see from the sides.

Sharon's Lexicon album was much darker and brownish. I decided to go for something softer, vintage pink. I've used a mask as a resist on the sides and corner, using tea dye. Also, added the ever so familiar metal butterfly. This time with a twist by adding some matt blings for the centre.


Another one of my favourite embellishment, the Prima pebbles.


This is an additional part added in after the whole book was done. I had originally wanted to leave the Tim Holtz glass bottle empty for BFF to place whatever she wants. However, on the way out for dinner, I thought putting in some brads would be cool. So I added brads, some ribbons and a heart on a pin! That made the cluster more cluttered. I like. :)


The inside of the book.


The centre are stuck together using Tim Holtz tissue paper. Some beautiful rub-on quotes from Kaiser Craft have also been randomly placed inside the book. And this was also a good time to utilize all the baby stickers that I've bought for a long time and have been taking up so much space.

 The back cover. Nothing much except I added more Prima flocked rub-ons. These are really old products that I've bought for a long time and have yet to try them till today. The reason for trying? Prima has a new range of products out on the shelves!!! (I'm hoping to clear some space) I haven't seen them and is trying not to. Let's see how long I can endure!


Materials used: Graphic 45 Little Darlings pattern paper and stickers, Basic Grey Baby Stickers, Kaiser Craft Baby Rub-ons, Transparencies, Lace paper, Prima Flock Rub-ons, pebbles, flowers, Tim Holtz memo pins, tickets, glass bottles, ribbons.

Sunday, February 12, 2012

Webster: Best Friends Forever

It's the altered art time again. This time BFF choose the Webster pages. So after a pretty stressful Saturday teaching Jaz's DS class at Laines, I managed to pick up a few little tricks from the class.
This is the raw desk caddy from Kaiser Craft.

By the way, Kaiser Craft has lots of these wooden pieces for altered art. And most of them are really quite cool, but a bit more for decoration purposes. This desk caddy and the tissue box are the more practical ones.


Decided to go for the very Webster look using blings, lace, prima flowers and everything webstery to decorate it.


Nothing really interesting, except I love the wooden bicycle flourish. I thought it look pretty cool here. And I was disappointed that I was unable to find another one in the shops anymore.


I am still wondering if I should add some G45 butterflies from their new collection. So BFF, you decide.


Just sharing a little habit that I always do when dealing with webster pages cut flowers. I love to distress them a little, with one of the browns, and use by bone folder to curl the edges of the flowers/leaves. This gives it a more scrunch up and realistic look.


Anyways, the next project, I probably work on an album using the G45 new collection papers that are extremely... NICE!!!!
Laines and Papermarket having a discount for Valentine's Day now. Do go down and grab any lovey dovey stuff and of course, the G45 papers are a good buy, if you're a vintage person.


Materials Used: Kaiser Craft Desk Caddy, Bicycle wooden flourish,  Friends Rub-ons Webster pages, Prima blings, Prima flowers, Antique linen, Lace (from Japan), Gold dimensional pearls, TPC Studio Metal sentiments.

Tuesday, February 7, 2012

Late Valentine

It's all about creating backgrounds again!

This time, I used the same old resist technique but did a little twist to it. I used MT tape to create a border. And instead of using bright distress inks, I used something darker, pumice stone. This is the next colour that is a must have. It's in between a grey and black. When used for stamping, creates a very dreamy and watercolour effect.


The making memories embellishment pack is a good buy. Every design comes in 2 each and there are more than 30 pieces in a pack. If you're into some Victorian style, this is a good investment.


For this layout, I tried my best at layering. Had inspiration from Betty, to create layout not based on photos first. Tried layering with different media. So as you can see, flowers, plastic rulers, lace, crystals. And of course, a photo that is missing. This layout is actually a gift for someone where hopefully he is able to find that someone special to give to.

The thing I like best, the birdcage! So happen to be browsing fb and saw something similar. And of course, did my usual style of copying. Or to put it in a nicer way, modifying.

Materials Used: Making Memories Valentine's pack, 7 Gypsies School Ruler, Prima flowers, Hero Arts background stamp, Distress Inks (Black Soot, Pumice Stone, Old paper), Sickles, Martha Stewart Punches, Doily paper.

Friday, February 3, 2012

aDoRe

After finding my niche area in inking, dear was nice and gracious enough to give me last Sunday afternoon to create backgrounds.

And I simply adore this background created.


This time I didn't use anymore of the old resist method. I tried to rub inks, a mixture of blue, yellow and green tones. After that, I used scattered straw to rub at the edges where 2 different colour inks meet. I thought scattered straw work excellently as a blender. Then I used a brick mask and spray highly diluted vinegar. I didn't want to use water as it's too not obvious. Neither did I want to use acid, as it would make the paper turn too acidic and brown. So a good balance was to use very diluted acid and I thought it turn out very well.

For the layout, I tried recycling the concept of Sharon's Learn layout. I'm never good at layering and could not a full layout like Jaz or Sharon. So copying their ideas is the best idea. :)


I also want to take this opportunity to introduce my latest love paper, kaiser craft. Their recent papers are really pretty and even the labels are so pretty that you can even cut them and use them instead of wasting them.


Materials Used: White cardstock, Kasier craft Bonjour pattern papers and stickers, Prima flowers, pebbles and brick mask, Tim Holtz tissue paper and philosophy tags, Donna Downey Unity Stamps.